Alene, Caiden, and I went bowling with Russ, Randa, Bobby, Billy, and Caiden's friend James. We had a good time, getting to bowl for about 1 1/2 hours or so (there was 8 of us, so it took a while to get through all the frames). Russ kicked our butts hitting 4 strikes in a row toward the end of his frames. I had the lead for quite a while (mostly on luck) by just picking up my spares and hitting a couple of strikes.
Bowling really is fun and even cheap to do. I would like to do it more often as a family thing. Plus, I get tons of laughs just thinking about the Big Leibowski every time I get near a bowling ally. There is ALWAYS someone there that reminds me of a character from the movie.
Monday, March 13, 2006
Sunday, March 12, 2006


Friday, March 10, 2006
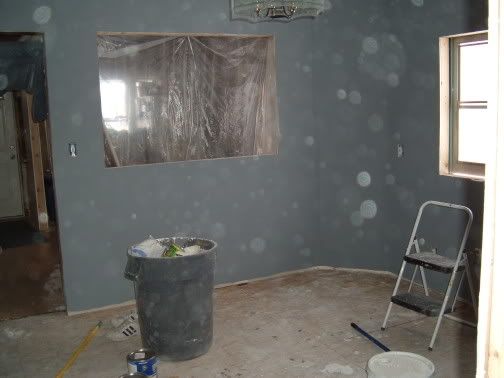
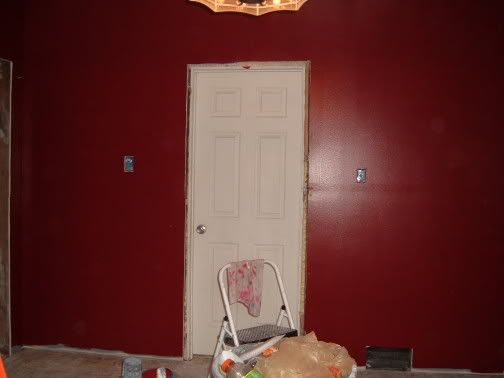
Kitchen Remodel Day 12
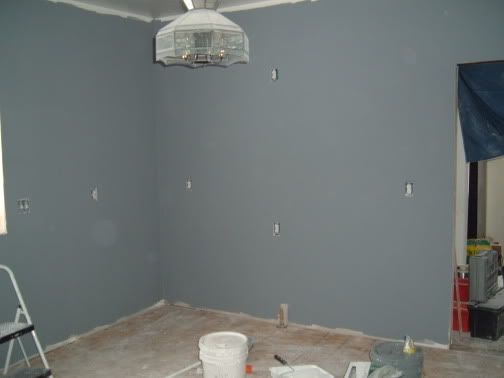
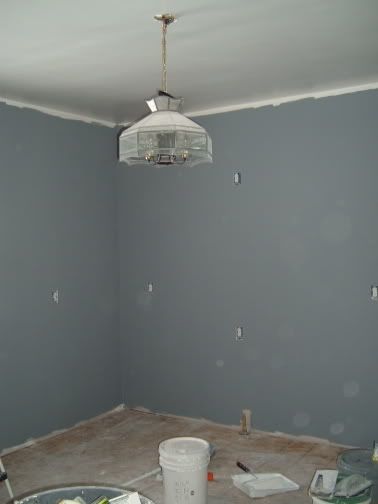
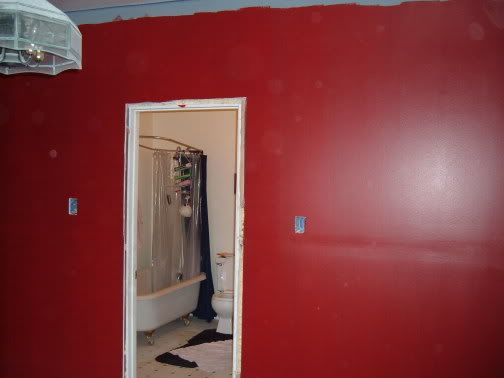
I didn't have a ton of time yesterday. I actually took a load of trash (from the remodel) to the dump. I still have 1-2 more loads to take. I got the first coat of mud sanded down. I HATE sanding drywall. If I did this more often, I'd have one of those professional sanders that hooks up to a vacuum. So the first layer is sanded. Now I'm going to put the 2nd (top coat) layer of mud on and I should be ready to paint tomorrow. I can't wait to see the color go on.
I'm expecting to be able to tile/grout the floors on Mon/Tues/Wed. Then on Thursday start installing the cabinets! By next Saturday we should be able to tile the counter tops and backsplash and move everything into the kitchen by the 20th or so.
After that, we are going to finish off the wall in the dining area. I could be doing it at the same time, but the drywall sanding creates so much dust and we have all our kitchen stuff in the dining area. Better to be able to get everything out of that room first, then mud/sand it.
Thursday, March 09, 2006
Kitchen Remodel Day 11
Russ came over and helped me tape the joints and started mudding the walls with me. We got a LOT done last night, which was a pleasant suprize. I figured we'd get about half the mudding done, but I ended up rocking and rolling on the stuff. Alene chipped in with covering all the screw holes up with mud too. However, my back suffered greatly and was given a good rub-down with some of that heat cream (alene did the rubbing part and my back felt like new after!).
So now that the first layer of mudding is done, today I'll be sanding (the worst part actually) and we should be ready to pain the primer on Saturday! Seriously, this is going so much faster than I figured.
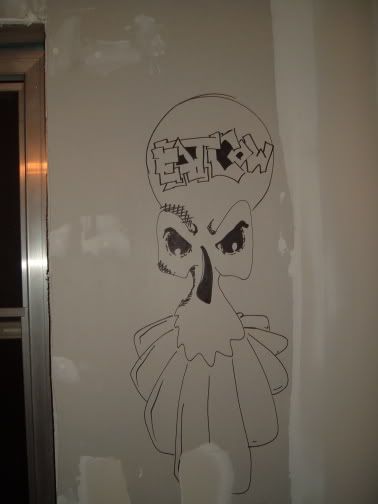
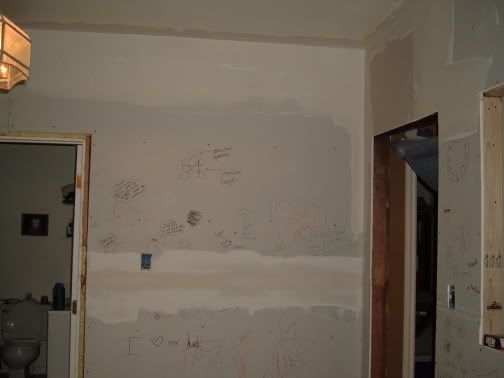
Before we started mudding, we had a few more visitors leave their marks on the walls. April, Bill, and their son Lanik provided some more art in addition to Alene's girls in her sunday school class that she teaches, who added some funny stuff too. Plus, Alene did my "dead body" outline on the wall as well.
Here are some pictures of the day:
Bills drawing
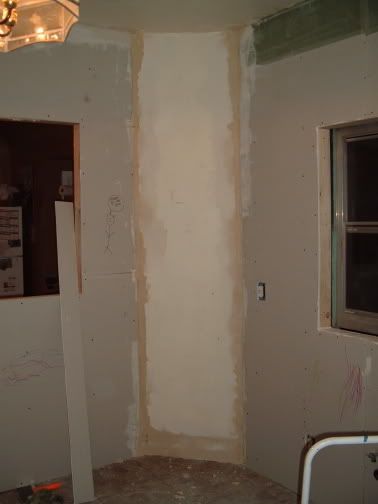
I started off by filling in the odd corner of the room (some very deep joints here) with some fixall. If you ever need something patched that is a deep hole, I HIGHLY suggest fixall, but be warned: The stuff becomes as hard as cement and is almost impossible to sand smooth. Since this corner of my wall is plaster over brick, I could not sheetrock it, so I joined the drywall with the plaster with this fixall stuff, then put a layer of mud over it after it dried (it dries within about 30 minutes, very HARD).
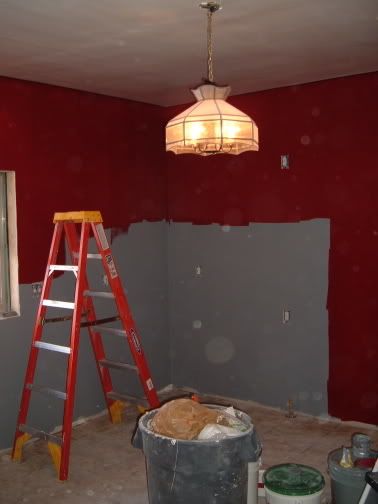
Here are pictures of the mudding being done and the finished mudding

Here is the outline of my dead body. I had to add some reality to the muscle-work though. I wasn't flexing when she did the outline, but if I was, this is what it would have looked like

So now that the first layer of mudding is done, today I'll be sanding (the worst part actually) and we should be ready to pain the primer on Saturday! Seriously, this is going so much faster than I figured.
Before we started mudding, we had a few more visitors leave their marks on the walls. April, Bill, and their son Lanik provided some more art in addition to Alene's girls in her sunday school class that she teaches, who added some funny stuff too. Plus, Alene did my "dead body" outline on the wall as well.
Here are some pictures of the day:
Bills drawing
I started off by filling in the odd corner of the room (some very deep joints here) with some fixall. If you ever need something patched that is a deep hole, I HIGHLY suggest fixall, but be warned: The stuff becomes as hard as cement and is almost impossible to sand smooth. Since this corner of my wall is plaster over brick, I could not sheetrock it, so I joined the drywall with the plaster with this fixall stuff, then put a layer of mud over it after it dried (it dries within about 30 minutes, very HARD).
Here are pictures of the mudding being done and the finished mudding
Here is the outline of my dead body. I had to add some reality to the muscle-work though. I wasn't flexing when she did the outline, but if I was, this is what it would have looked like
Tuesday, March 07, 2006
Kitchen Remodel Day 10 (drywall is done!)
Well, for the most part anyway. The majority of the sheetrock is hung. I still have the arch to do in the dining entry (which, like I said, I think I've got it figured out) and a few other tiny areas. Now comes the FUN (not really) part: Muding and sanding. Time to get dusty and wear out my back sanding above my head! Hopefully Russ will come over tomorrow night (as he said he would) and help me with the mudding. He and I have worked on previous jobs, so we work really well together.
Here are some pictures from todays work:
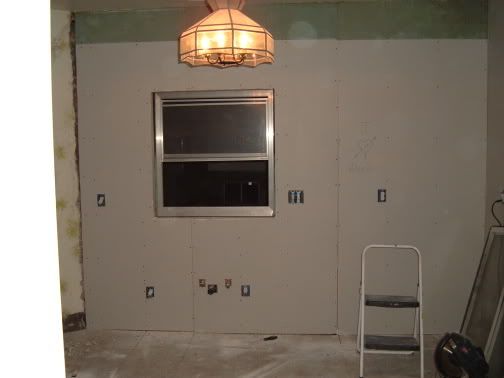
Kitchen window is framed in (still waiting for the window, which I special ordered at Home Depot)

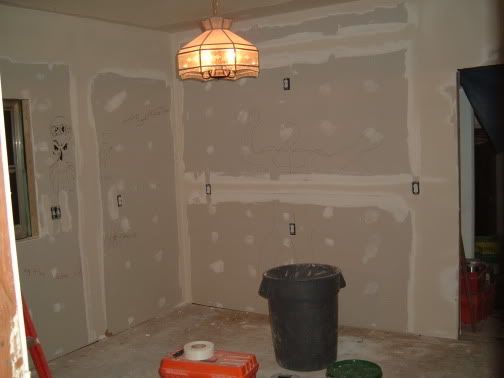
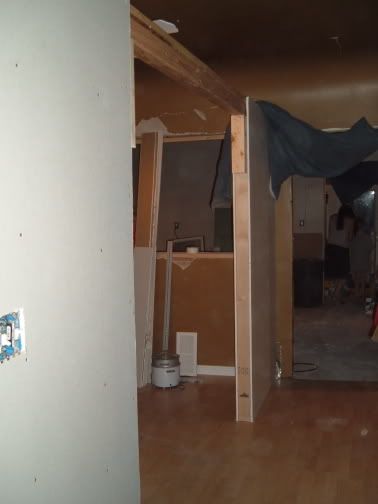
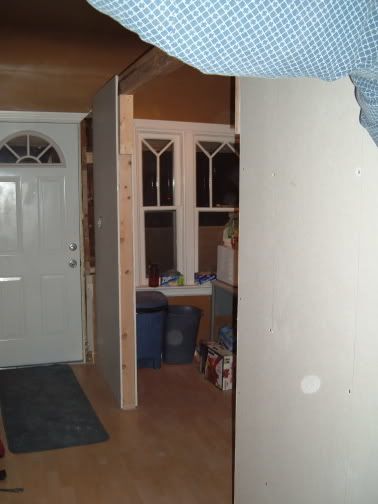
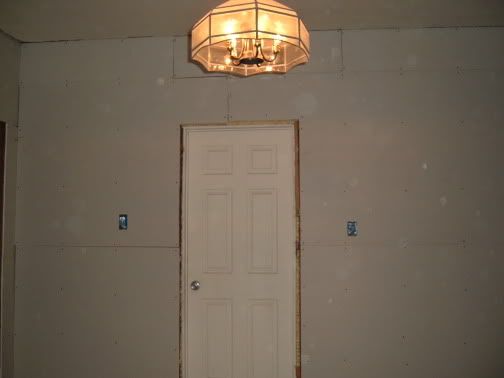
Here is the finished wall in the kitchen
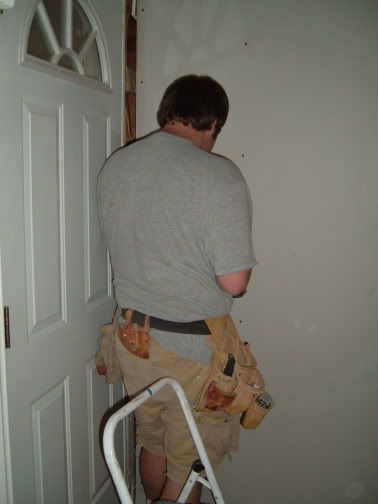
Here is a picture of me in action, hanging some drywall
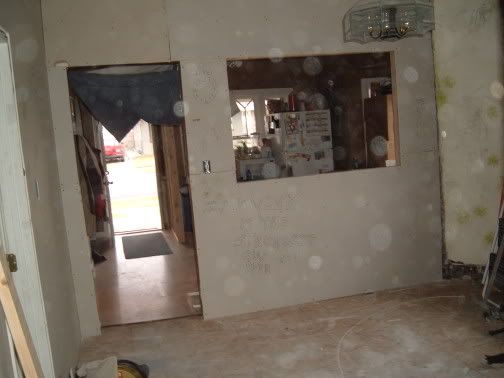
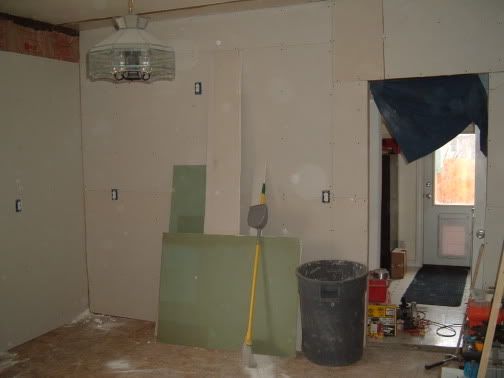
Here is a picture of the finished wall in the dining area (again, I still need to do the arche in between).
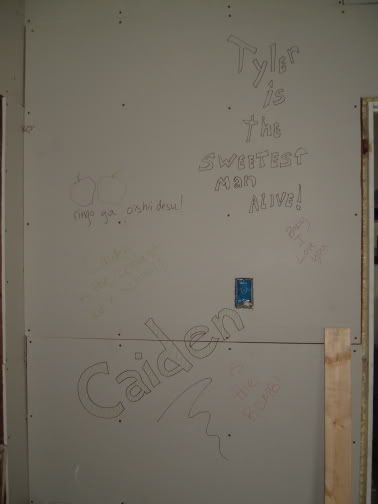
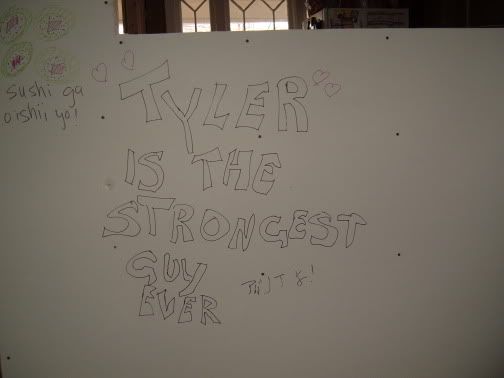
Both me and Caiden decided to get in on the graffiti action, so this is what I did
This is what Caiden did (It says "I 'heart' my dad") "sniff", makes a dad proud :-)

This one says "My dad is build ing the kitchen"
This one says "My dad is bob the bilder"

This is a special "shout-out" to my buddy on Cougarboard

Here are some pictures from todays work:
Kitchen window is framed in (still waiting for the window, which I special ordered at Home Depot)
Here is the finished wall in the kitchen
Here is a picture of me in action, hanging some drywall
Here is a picture of the finished wall in the dining area (again, I still need to do the arche in between).
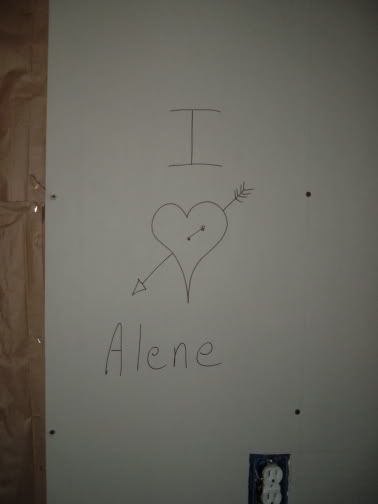
Both me and Caiden decided to get in on the graffiti action, so this is what I did
This is what Caiden did (It says "I 'heart' my dad") "sniff", makes a dad proud :-)
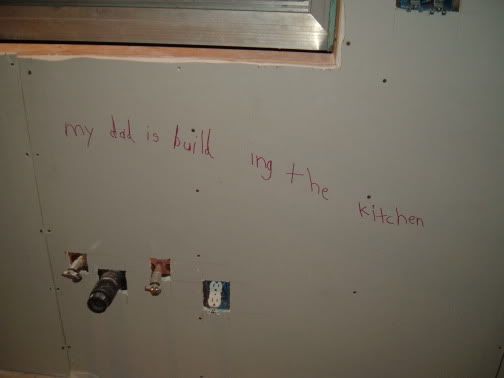
This one says "My dad is build ing the kitchen"
This one says "My dad is bob the bilder"
This is a special "shout-out" to my buddy on Cougarboard
Kitchen Remodel Day 9
I didn't have a lot of time to do work last night because I had school and I had to come back into work around 9pm for some after-hours maintenance. However, since I worked late last night, I stayed home this morning (day 10) and got some additional work done.
So far I was able to get the insulation up on the exterior wall and get about 75% of the job sheetrocked. Here are some of the pictures:
Here is the insulation

Here is the first piece of sheetrock going up
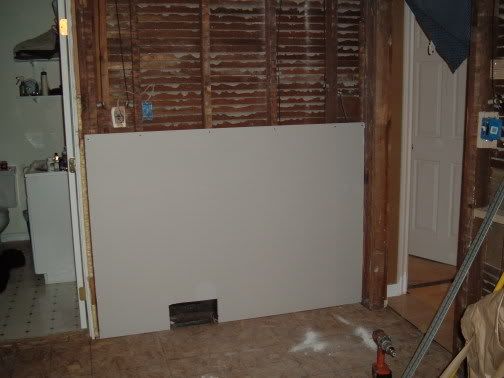
Here is the rest of the sheetrock going up
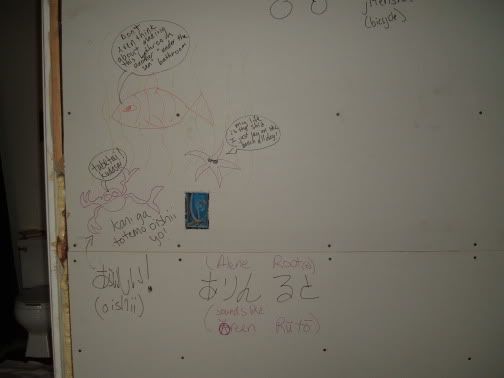
When I was heading to work last night, Alene called me and asked if she could draw on it (since we will be painting over it). I didn't have a problem with it, but when I came home, she had gone to town! She's so funny.
Next thing to do is frame in the rough opening for the new window, then sheetrock around it, then do the sheetrocking in the dining room area. I think I've got the arch figured out. I'm going to use some really thin plywood to bend it into shape for the arch. Should be interesting.
At the pace we're going though, we should have it all ready for painting this Saturday. Then with school out next week, we will be able to tile (should take a day) and start moving the cabinets in by Thursday.
I guess we'll see how it goes.
So far I was able to get the insulation up on the exterior wall and get about 75% of the job sheetrocked. Here are some of the pictures:
Here is the insulation
Here is the first piece of sheetrock going up
Here is the rest of the sheetrock going up
When I was heading to work last night, Alene called me and asked if she could draw on it (since we will be painting over it). I didn't have a problem with it, but when I came home, she had gone to town! She's so funny.
Next thing to do is frame in the rough opening for the new window, then sheetrock around it, then do the sheetrocking in the dining room area. I think I've got the arch figured out. I'm going to use some really thin plywood to bend it into shape for the arch. Should be interesting.
At the pace we're going though, we should have it all ready for painting this Saturday. Then with school out next week, we will be able to tile (should take a day) and start moving the cabinets in by Thursday.
I guess we'll see how it goes.
Monday, March 06, 2006
Kitchen Remodel Day 8
OK, it was Sunday, so I didn't do much work. I basically got the kitchen completely ready for drywalling. I had to cut back the sheet metal on the ducts for the heating vents (they were cut for the old plaster, but since the drywall isn't as thick as plaster, I cut them back a bit). I also ran a phone line for the kitchen, finished off the ventilation for the plumbing, and put up the insulation on the outside wall of the kitchen (this will be the only room in the house with insulation on the outside of the walls. Pretty lame they couldn't insulate 90 years ago before putting up the plaster :-).
So now we're ready for the sheetrocking! I was going to sheetrock, paint, but in the cabinets, countertops, and then do the floor tile last, but I'm thinking I'll sheetrock, paint, tile the floor, THEN do the cabinets and save the countertops for last. It just makes more sense for me to do it that way.
Anyway, I have a big Math exam tonight, so I'll do more work on it once I'm done with the exam. The first part of this week is going to be pretty busy.
Sunday, March 05, 2006
Kitchen Remodel Day 7
Got a lot done, even if it doesn't appear that way. I was able to finish the plumbing for the copper lines on Friday night as well as install the drain. I covered up the remaining area of the floor on Saturday morning. I also cut in the recessed light in the kitchen, but had some problems fitting it in, so I ended up damaging the plaster on the ceiling. That sucked. Not a big deal as I will be patching a lot of damaged plaster in other areas, just more work.
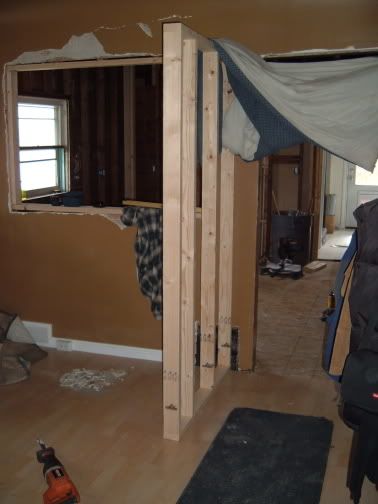
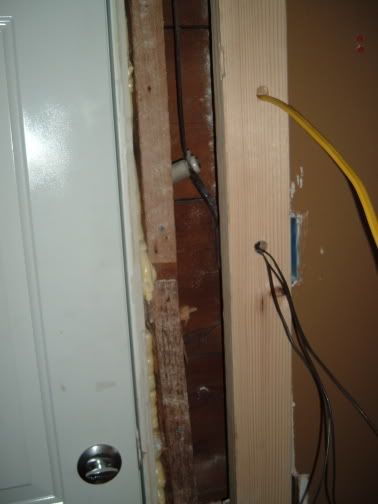
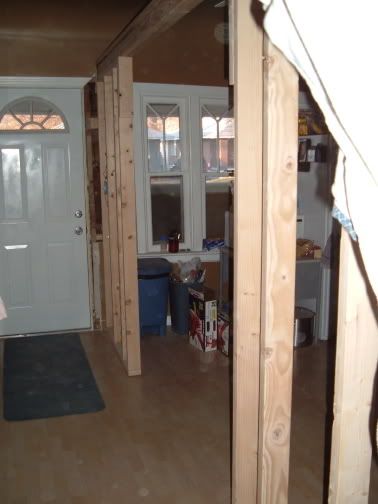
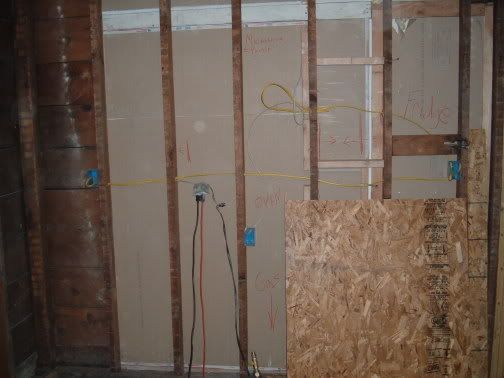
I also built the wall for the dining area and ran the electrical for that area. It's got old-school electrical lines (no ground or "common" wires for the lighting, only a power wire). Once the dining wall went up, the place really started to take shape. Alene and I attempted some pull-ups on the beam that spans the half-wall (You will see the picture below). I am planning on putting an arch in this area, I've just got to figure out "how". I think I've got an idea though (use a template and a lot of patience).
Anyway, I'm about ready to sheetrock. I have to do 3 more things in the kitchen (finish the ventilation for the plumbing, add a phone line to the wall, and fix the heating vents) then we're ready for sheetrock and paint!
Alene and I went to Home Depot last night to get the remaining items we needed (tile for the counter tops and other misc. items). We also used our last 20% off coupon, which was nice. In all we saved about $700 on the project with these suckers. Not too shabby!
Here are pictures from yesterday:
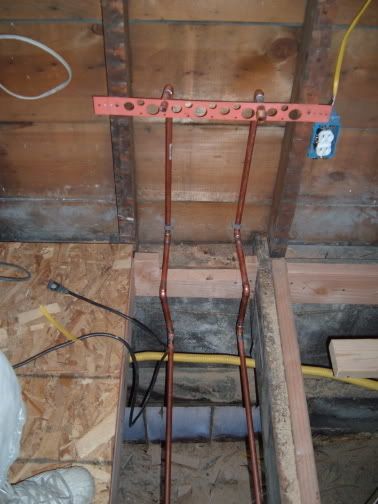
Here is the finished plumbing (the drain pipe isn't in in this picture???)
Here is the recessed light I put in which will be above the window and sink (I have to repair that area around it)

Here is the dining wall going up
Here is the power I ran through the wall (again, notice only 1 wire: the hot (power) wire. No common or ground.
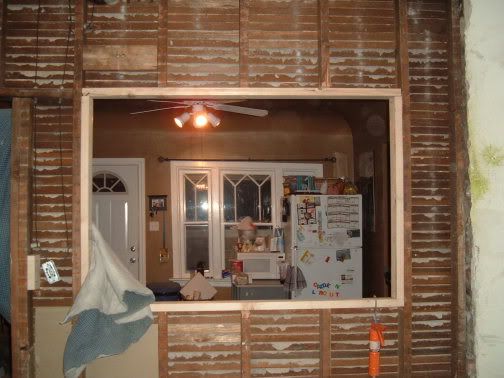
Here is a picture of the dining wall with the header placed in (good for doing pull ups right now)

Here is a picture of the kitchen sub floor completely in
I also built the wall for the dining area and ran the electrical for that area. It's got old-school electrical lines (no ground or "common" wires for the lighting, only a power wire). Once the dining wall went up, the place really started to take shape. Alene and I attempted some pull-ups on the beam that spans the half-wall (You will see the picture below). I am planning on putting an arch in this area, I've just got to figure out "how". I think I've got an idea though (use a template and a lot of patience).
Anyway, I'm about ready to sheetrock. I have to do 3 more things in the kitchen (finish the ventilation for the plumbing, add a phone line to the wall, and fix the heating vents) then we're ready for sheetrock and paint!
Alene and I went to Home Depot last night to get the remaining items we needed (tile for the counter tops and other misc. items). We also used our last 20% off coupon, which was nice. In all we saved about $700 on the project with these suckers. Not too shabby!
Here are pictures from yesterday:
Here is the finished plumbing (the drain pipe isn't in in this picture???)
Here is the recessed light I put in which will be above the window and sink (I have to repair that area around it)
Here is the dining wall going up
Here is the power I ran through the wall (again, notice only 1 wire: the hot (power) wire. No common or ground.
Here is a picture of the dining wall with the header placed in (good for doing pull ups right now)
Here is a picture of the kitchen sub floor completely in
Friday, March 03, 2006
Kitchen Remodel Day 6
Didn't get a ton done because I had to take a double trip to Home Depot. I picked up Caiden from Karate and stopped by Home Depot to buy some 1/2" copper tubing (I'm taking out the old galvanized pipes and replacing them with copper). I also purchased a new kitchen window (which had to be special ordered, so it won't be here for another 10 days).
The part that sucks is when I got home, I realized I had gotten the wrong kind of copper tubing. I got the blue stuff (which is thicker and more for industrial projects) when I should have gotten the red stuff. So even though Home Depot is less than 5 miles from my house, it took another 30 minutes to go exchange that stuff for the right stuff. I wanted to get Caiden in bed early and be ready for Alene when she got home from School, so I had to wrap up by around 8pm (which I did).
I basically got the copper sweated for the area that comes out of the wall where the sink is going to be. "Sweating" copper basically consists of preparing your various pieces/joints by sanding them clean, adding flux (a greasy substance that helps the solder slide into the gaps and harden), heating them together, then adding solder (which is a type of metal that melts when heated and used to fill any gaps on the joints of the copper), then cooling it off. The two copper pieces are now one!
Today I'm getting off work a little early to work on more plumbing so I can seal off the reast of the floor.
Sorry, no pictures today because there really wasn't much to see.
Thursday, March 02, 2006
Kitchen Remodel Day 4 & 5
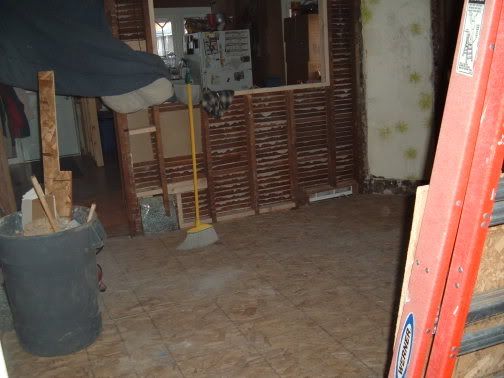
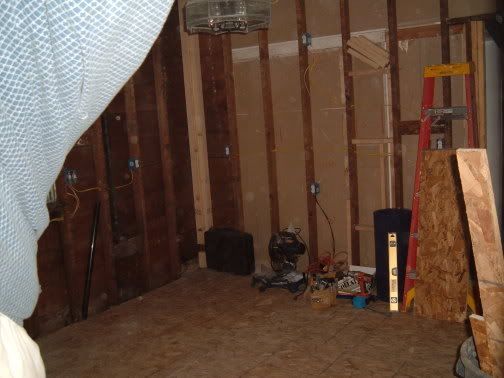
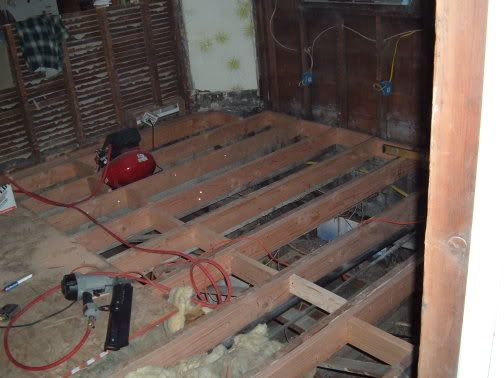
We basically spent the past two days leveling out the floor and adding the new sub-floor. All of the electrical is in (and working!). Leveling out the floor was pretty difficult and time-consuming, but I've made it much stronger than it was before.
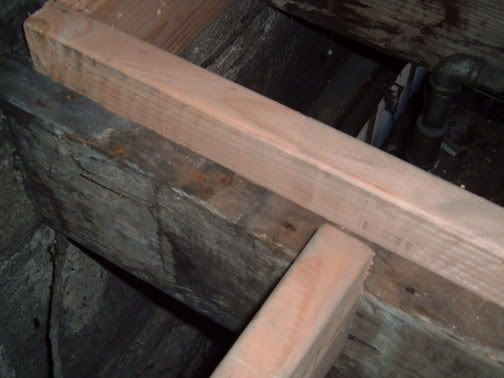
Part of the houses foundation had sunk about 3", so it caused the kitchen floor to slant at an angle to one of the corners. You could put a marble down and the sucker would rocket to that corner very quickly. Funny thing is, when we were demolishing the wall in that area, I found a bunch of marbles that had fallen behind the sub floor and in that area :-). So, my idea was to buy some 2x6 boards as long as the current joists and nail/bolt them to the old joists, but at a level angle (you'll see in the pictures).
Russ came by to help out a bit. Alene has been busy with school work and had to turn in an assignment last night by 11pm (on-line) so she couldn't help.
Here are some pictures from the last two days:
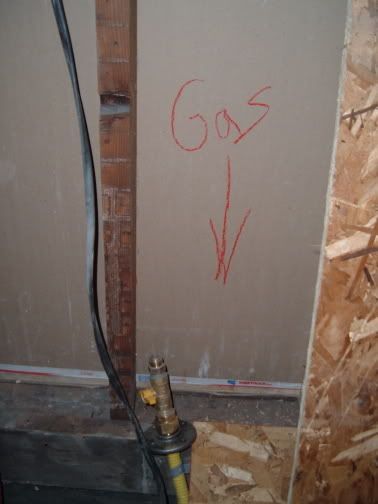
Our $300 gas line
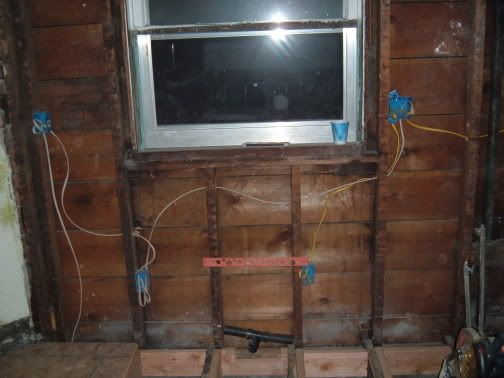
The electrical wiring is done
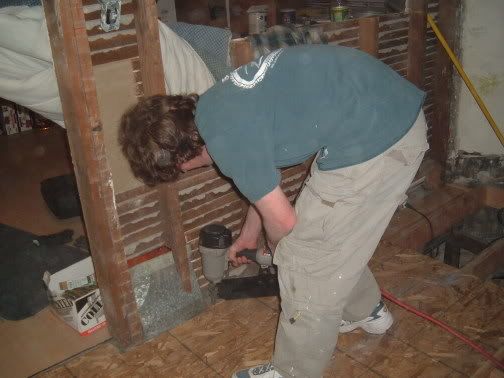
This is how I leveled out the floor. I nailed the crap out of the new joist against the old one, then secured it with some 1/2" bolts.
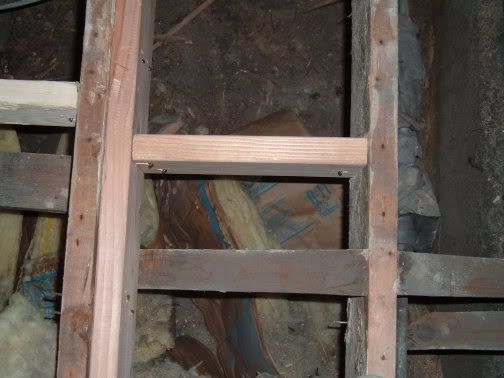
I put these spacers between each joist to give it some strength
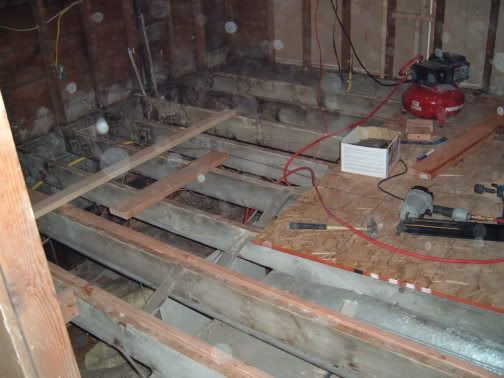
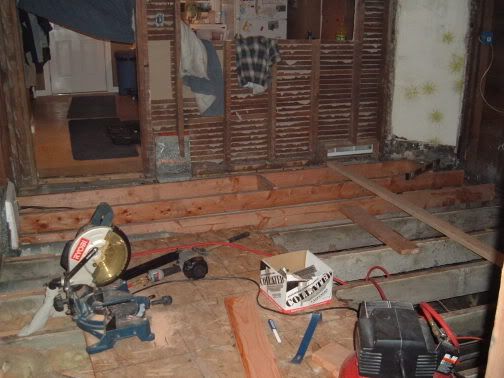
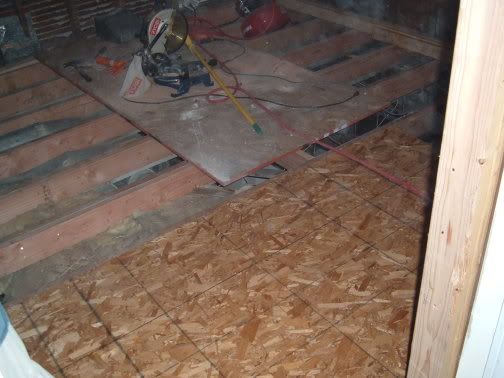
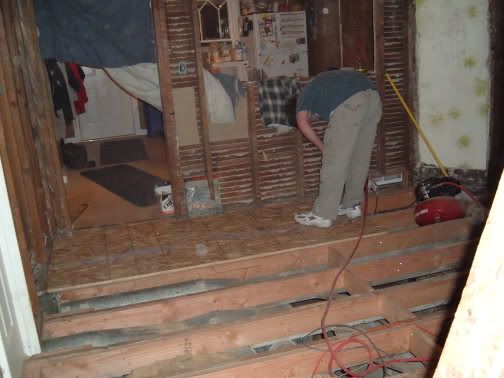
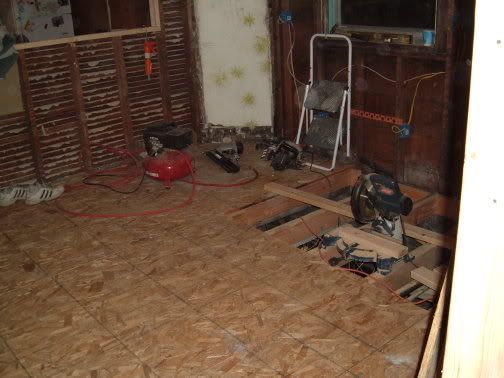
The sub-floor goes down. I left two sections off so I can complete the plumbing. Once the plumbing is done, the rest of the floor will be covered and we can start getting ready to sheet rock the walls.
We framed in the countertop/bar window (not sure what to call it??)
Today we're going to get the plumbing done (hopefully) and the rest of the sub-floor down. Tomorrow is a "rest" day as Alene and I will be going to Yoga and a concert (Reverand Horton Heat; I've never heard/seen him, but Alene has heard he puts on a good show).
Part of the houses foundation had sunk about 3", so it caused the kitchen floor to slant at an angle to one of the corners. You could put a marble down and the sucker would rocket to that corner very quickly. Funny thing is, when we were demolishing the wall in that area, I found a bunch of marbles that had fallen behind the sub floor and in that area :-). So, my idea was to buy some 2x6 boards as long as the current joists and nail/bolt them to the old joists, but at a level angle (you'll see in the pictures).
Russ came by to help out a bit. Alene has been busy with school work and had to turn in an assignment last night by 11pm (on-line) so she couldn't help.
Here are some pictures from the last two days:
Our $300 gas line
The electrical wiring is done
This is how I leveled out the floor. I nailed the crap out of the new joist against the old one, then secured it with some 1/2" bolts.
I put these spacers between each joist to give it some strength
The sub-floor goes down. I left two sections off so I can complete the plumbing. Once the plumbing is done, the rest of the floor will be covered and we can start getting ready to sheet rock the walls.
We framed in the countertop/bar window (not sure what to call it??)
Today we're going to get the plumbing done (hopefully) and the rest of the sub-floor down. Tomorrow is a "rest" day as Alene and I will be going to Yoga and a concert (Reverand Horton Heat; I've never heard/seen him, but Alene has heard he puts on a good show).
Subscribe to:
Posts (Atom)


